One fantastic aspect of Chrome OS is that it pushes you to be device independent by expecting you to utilize Google services for cloud storage. Device independence means that you aren't reliant or locked into a single device. Did you just smash your Chromebook? No problem, just access your data from almost any other device with an internet connection until you replace it.
Because Google pushes Chromebook users to become device independent, most individuals barely use the limited internal storage on their Chromebook. Instead, they upload their data to the appropriate could-based Google service.
Most individuals can divide their data into five categories; Music, Photos, Videos, Books, and Documents. Google gives you free storage for each of these categories, which makes migrating from a Windows computer a breeze.
Most individuals can divide their data into five categories; Music, Photos, Videos, Books, and Documents. Google gives you free storage for each of these categories, which makes migrating from a Windows computer a breeze.
Music: Google Play Music
Google allows you to upload 20,000 songs for free! If you have more than 20,000 songs, it is probably time to clean unwanted music out of your library anyways. If you are worried about exceeding the 20,000 songs, remember that any music purchased through Google Play Music does not count towards your 20,000 song upload limit.
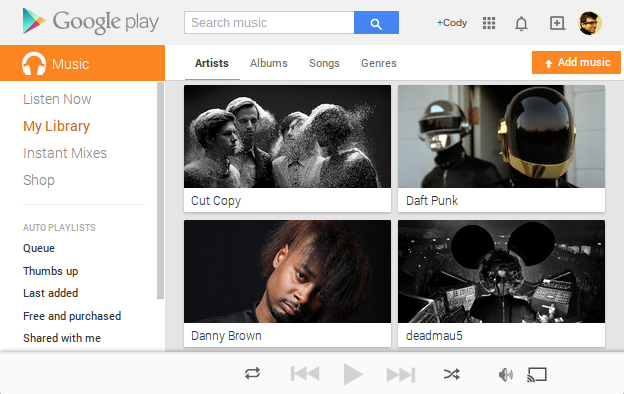
To upload your music, go to Google Play Music and press the "Add Music" button. Drag your entire "Music" folder from Windows Explorer into the Add Music window. For those of you who don't always get your music legitimately, you know who you are, look for more music in your Downloads folder.
Uploading music can take a long time, especially if your internet connection is slow. Get ready to sit back and wait.
Pictures and Videos: Google+ Photos
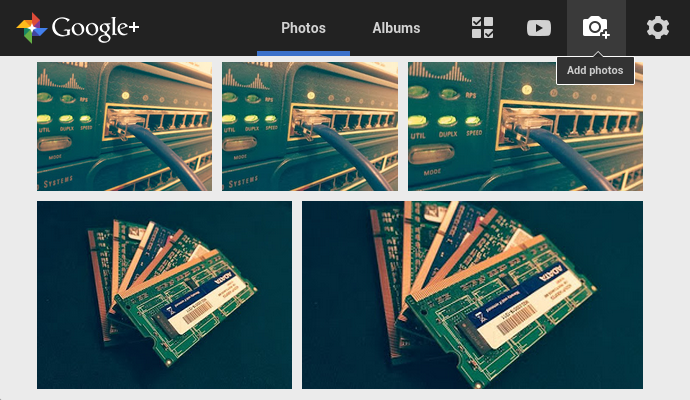
If your photos are less than 2048x2048 pixels, Google allows unlimited photo uploads to Google+ Photos. If your photos are larger than 2048x2048 pixels, Google+ Photos will automatically offer to scale the photos to qualify for unlimited photo uploads.
Additionally, Google+ Photos allows unlimited video uploads for videos less than 15 minutes long.
Additionally, Google+ Photos allows unlimited video uploads for videos less than 15 minutes long.
Understandably, you may want to keep some higher quality photos above 2048x2048 pixels or videos longer than 15 minutes. In this case, any the photos larger than 2048x2048 pixels or videos longer than 15 minutes count towards your "Drive Storage."
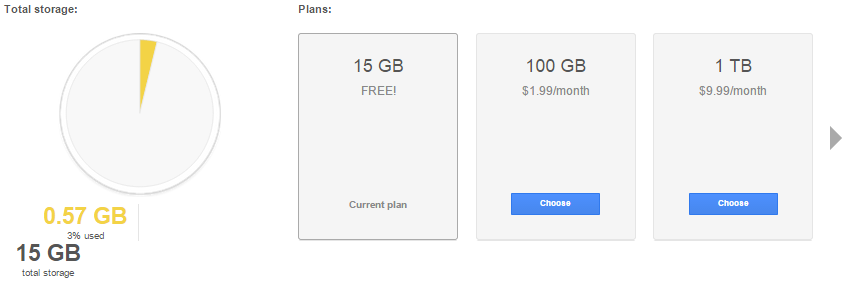 Every Google account automatically gets 15GB of Drive Storage. However, if you need more space, additional storage is fairly inexpensive. Drive Storage consists of Photos larger than 2048x2048 pixels and videos longer than 15 minutes inside of Google+ Photos. Additionally, all email in your Gmail account and all files uploaded to Google Drive count towards your Drive Storage.
Videos (again): YouTube
YouTube, we have all heard of it. However, most people just consume content and never upload their own. If you have videos over (or under) 15 minutes long that need to be stored online, look at storing them on YouTube.
Google places strict guidelines on what can be uploaded, so YouTube is not the place to upload the latest season of Game of Thrones or any kinky bedroom videos. However, if you have some home videos, go ahead and upload them. Who knows, you may be sitting on the next viral cat video.
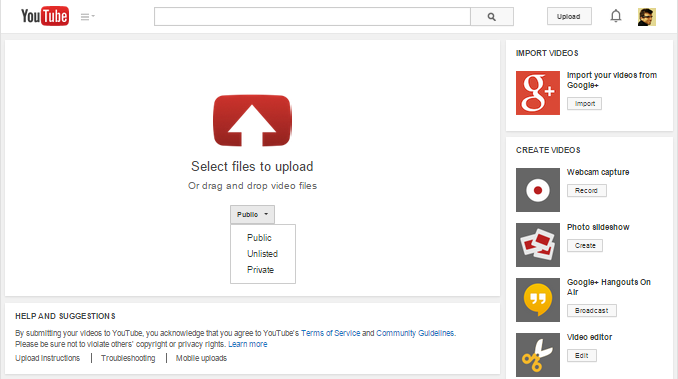 If you are concerned about privacy, you can set the privacy setting to private so only select individuals can view your video.
Google places strict guidelines on what can be uploaded, so YouTube is not the place to upload the latest season of Game of Thrones or any kinky bedroom videos. However, if you have some home videos, go ahead and upload them. Who knows, you may be sitting on the next viral cat video.
If you are concerned about privacy, you can set the privacy setting to private so only select individuals can view your video.eBooks: Google Play Books
Google Play Books allows you to upload up to 1000 PDF or EBUP documents smaller than 100MBs each. If you're a person that likes to read eBooks on your phone, tablet, or computer, you can upload your eBooks to Google Play Books to read your book from any device. Additionally, you can switch between devices and pick up right where you left off.
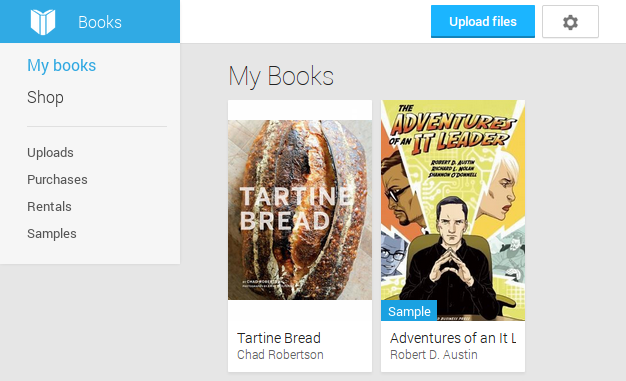
Furthermore, all books, magazines, and comics purchased through Google Play Books are accessible from your library and do not count towards your 1000 document upload limit.
Furthermore, all books, magazines, and comics purchased through Google Play Books are accessible from your library and do not count towards your 1000 document upload limit.
Everything Else: Google Drive
Google Drive is essentially where all your documents and miscellaneous files get stored. However, you have to be conscious of this space because files uploaded to Google Drive count towards your Drive Storage limit. However, files made with Google apps like Google Docs, Sheets, Slides, Drawings, etc. do not count towards your storage limit. You can have as many of them as you want.

You could not utilize any other Google services and just upload all your files to Google Drive. However, because individuals only get 15GBs of Drive Storage, this is not a viable free option for most people. You could just pay for expanded Drive Storage so you could upload all your files, but then you will not be able to utilize the features of other Google services.
That is all there is to it. After everything is uploaded to Google services, you can log into your Chromebook and have instance access to all your files.
Have any questions about the Chrome OS environment? Tell us about it in the comments below.
Have any questions about the Chrome OS environment? Tell us about it in the comments below.